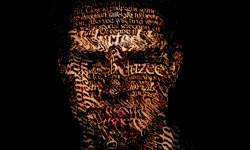
 Typography is an important element in design. So we often discuss about typography here. We have posted a cool post about typographic posters. Today we will create a nice typographic effect using just Adobe Photoshop.
So in this tutorial I will show you how to create a really cool and super easy typographic portrait in Photoshop. For that we’ll use the Displace filter and some Blend Modes to achieve the effect. The entire process is quite simple and straight forward.
Step 1
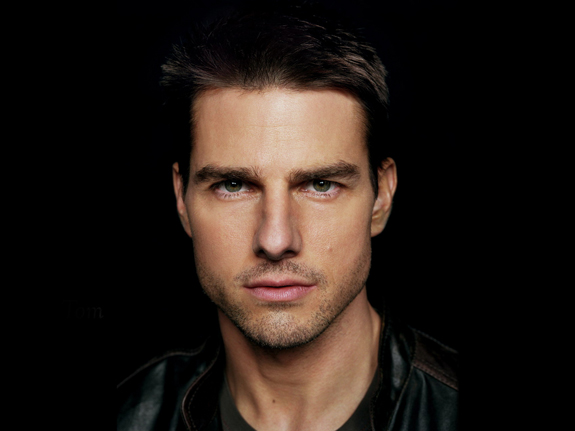
Open your image in Photoshop and extract its background.
Step 2
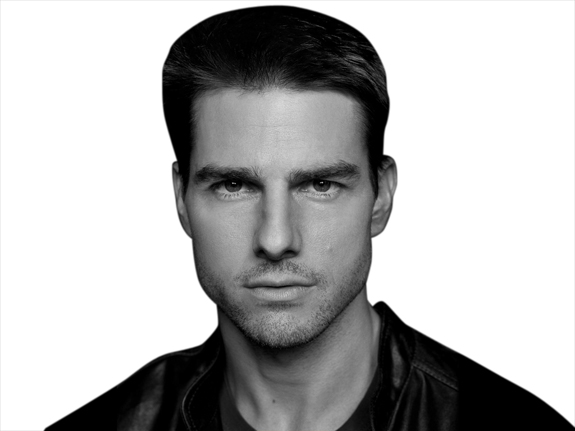
Duplicate the layer and go to Image>Adjustment>Desaturate. You will have a black and white photo. Add a white background ti image. After that save the file as PSD otherwise it won't work with the Displace filter.
Step 3
With the Horizontal Type Tool (T) create text boxes and start adding texts. The idea is to play with the texts, they don't have to be readable, or at least with normal legibility, so play with the line-heights, reduce that so the lines overlay one another.
Also make some keywords much bigger and bold as well play with text effect such as italic, bold alignments and text sizes.

Step 4
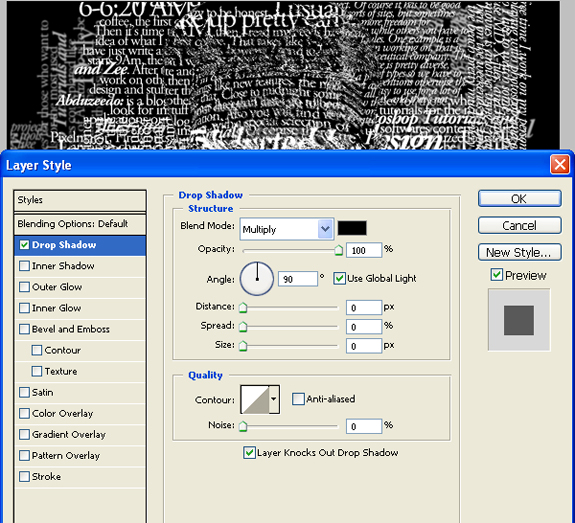
For each layer, go to Layer>Layer Style>Drop Shadow. Use Multiply for the Blend Mode, black for the color, 90º for the Angle and 5 pixels for Distance, Spread and Size.
Also, group all the layers and the duplicate the group. Go to Layer>Merge Group and then go to Filter>Blur>Gaussian Blur. Use 10 pixels for the Radius. This blurry layer will have to stay behind the regular one.
Step 5
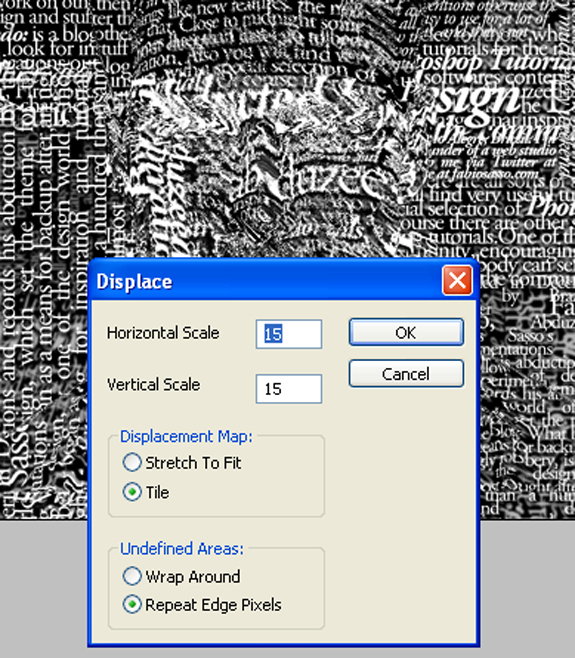
Select all the text layers and merge them into one layer only, then go to Filter>Distort>Displace. A dialog box will appear asking you to choose a file. Select the PSD file we created before into Step 2. After that for the Displace settings use 15 for the Horizontal and Vertical Scale; use Tile for Displacement Map and Repeat Edge Pixels for the Undefined Areas.
The displacement map will distort the layer based on the gray scale photo we used; the dark tones go down while the lights go up.
Step 6
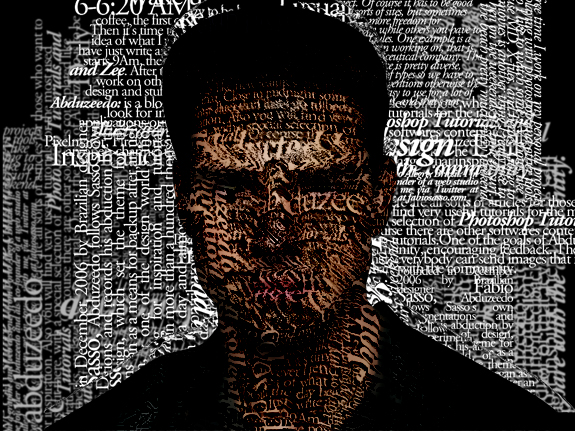
Then put the photo layer on top of the white text layer, then change the Blend Mode of the photo layer to Light Burn.
Step 7
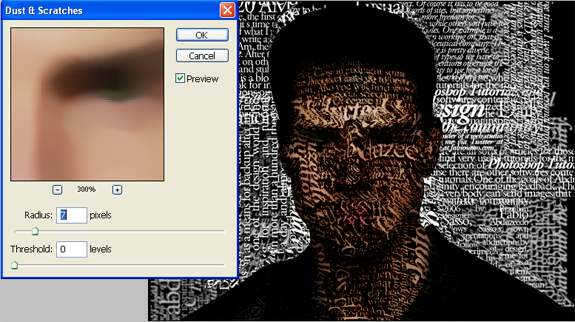
Now go to go to Filter>Noise>Dust & Scratches. Use 7 pixels for the Radius and 0 levels for the Threshold.
Step 8
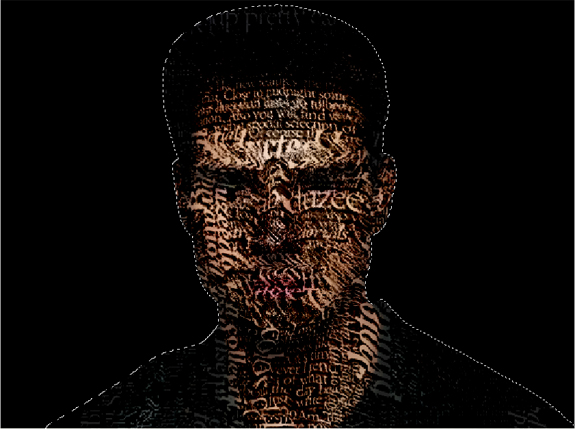
Mask the text layer so you will have just the texts over the photo.
Final Step
You can decrease a little bit the saturation and as mentioned earlier, you can add more text layers and even try different symbols and shapes to make portrait more attractive.
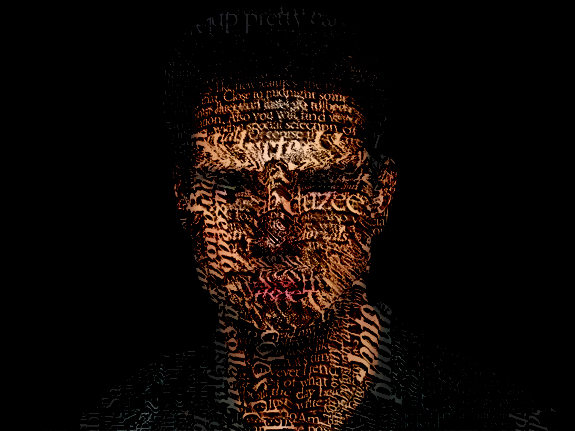
Download PSD file - Typographic Portrait in Photoshop
